Building a new home in Melbourne’s west is one of the biggest purchases you will ever make — and one of the few where you pay for the work before you can fully inspect it. Stage inspections give you back that control. I am Michael Tuder, registered builder, and after 30+ years on the tools I have inspected new builds across Hoppers Crossing, Tarneit, Point Cook, Werribee, and most of the Wyndham corridor. Below is what an independent inspector checks at each of the five build stages, and what builders most often miss.
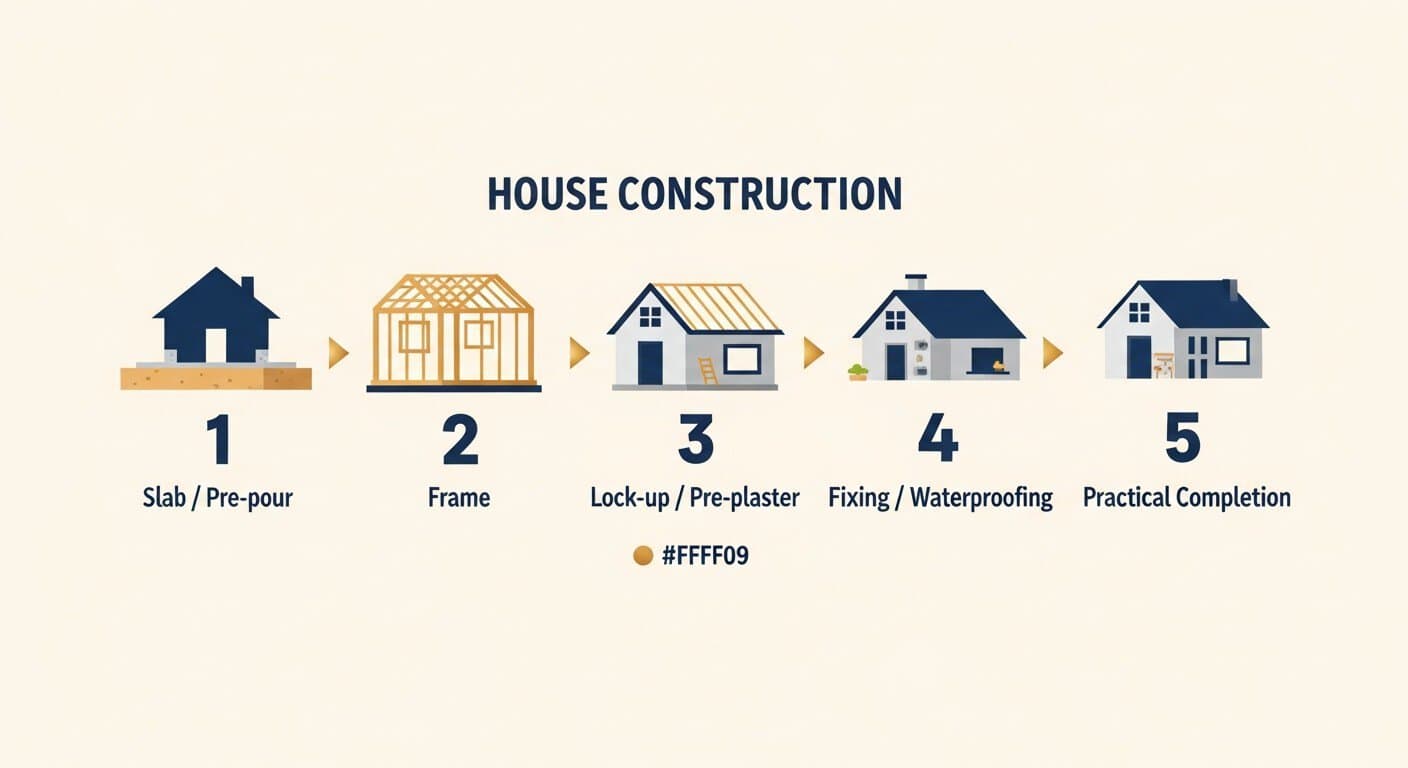
Quick answer: The five standard stage inspections on a new home build are base (slab), frame, lockup, fixing, and practical completion (PCI). Each stage corresponds to a progress payment. An independent inspector checks the work against the contract, the plans, and the National Construction Code at each stage — before you authorise the next payment.
Why stage inspections matter
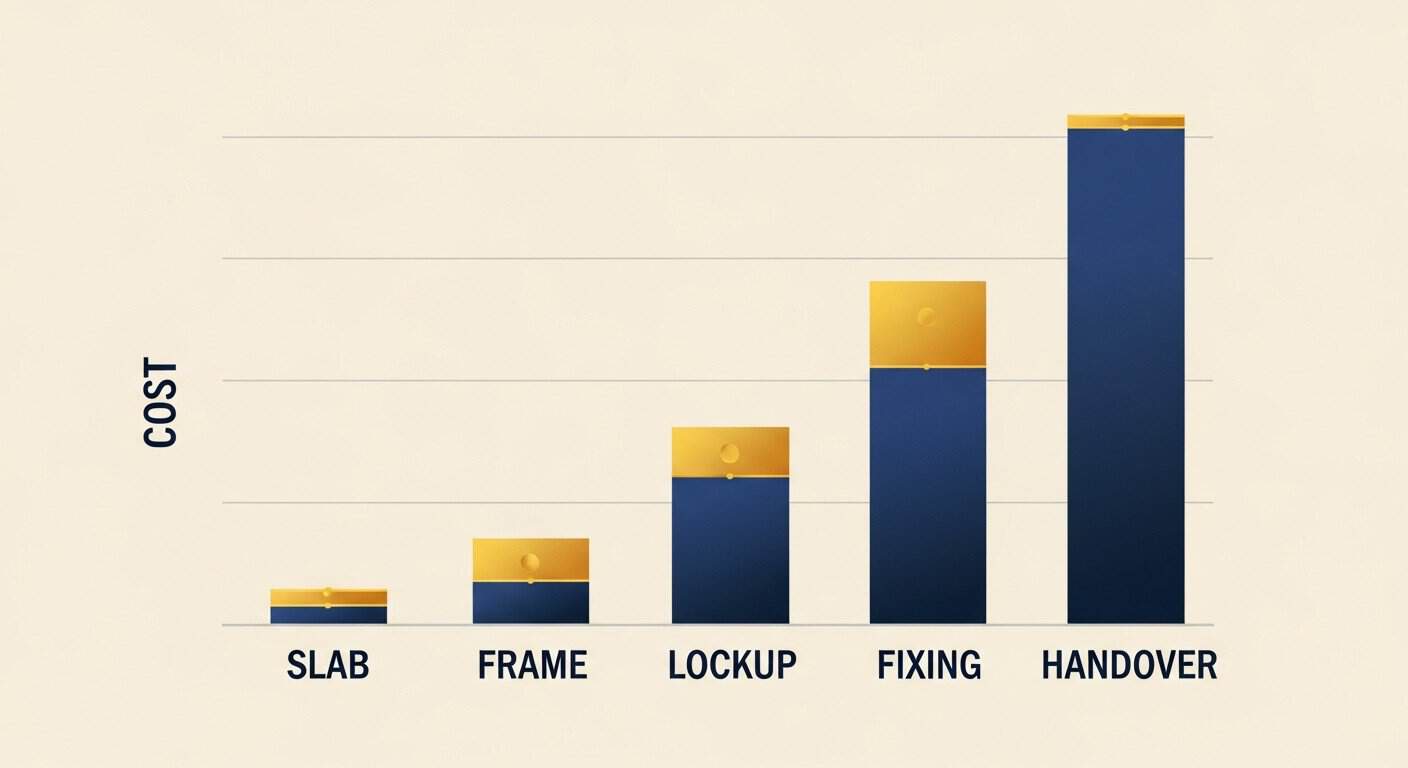
Your builder’s site supervisor signs off each stage. That is internal QA — useful, but it is the same company taking your money. An independent stage inspector works for you. The defects we find now cost $500 to fix. The same defects found at handover cost $5,000. The same defects found after move-in often cannot be fixed at all.
For more on that conflict-of-interest, see our post on why your builder’s inspection is not enough.
Stage 1 — Base (slab) inspection
Done after the slab is poured and cured, before the frame goes up. This is the foundation of the entire build. Mistakes here propagate through every other stage.
What we inspect:
- Slab dimensions against the plans
- Slab finish and cure quality — surface cracking, plastic shrinkage
- Edge beam and stiffening beam locations
- Reo positioning (where visible at the edge)
- Plumbing penetrations — location, capping, debris
- Electrical conduit penetrations
- Termite barrier — visible at the slab edge
- Slab levels — checked with a laser level
- Set-out — slab position on the block, setbacks, easements
[Image: slab edge with visible plumbing penetrations and termite collar]
What builders commonly miss:
- Slab edge cracks blamed on “shrinkage” that are actually movement
- Plumbing penetrations in the wrong location, requiring chasing through the slab later
- Termite collars missing or damaged on stack penetrations
- Slab levels out by 15–25mm across the footprint — feeds into frame issues later
The base stage is when defects are cheapest to fix. A slab needing a partial demolition is rare but not unheard of when set-out is wrong.
Stage 2 — Frame inspection
Done after the frame is up, the roof trusses are set, and before the cladding, insulation, or plasterboard goes on. This is the most important inspection of the build, because almost all of the structure is still visible.
What we inspect:
- Wall and roof frame — straight, plumb, square
- Tie-down — bottom plate, top plate, truss to wall, hold-down brackets
- Bracing — locations match the engineer’s plan, properly fixed
- Stud spacing and lintel sizing
- Roof truss installation, fixing, and bracing
- Window and door rough openings — square, sized, lintel above
- Plumbing rough-in — pipes, vents, locations against plan
- Electrical rough-in — cable runs, switchboard location, service entries
- Insulation reflective sarking on external walls and roof
[Image: timber frame with bracing and sarking — frame stage inspection]
What builders commonly miss:
- Tie-down brackets installed without screws fully driven
- Bracing in the wrong orientation or under-fixed
- Truss bracing skipped because “the truss company will do it”
- Lintels under-sized for the opening
- Plumbing stacks not vented to the roof correctly
- Electrical cables run through structural members in non-compliant ways
The frame stage is the inspection most worth getting right. Once the cladding goes on, the frame is hidden for the life of the building. Anything missed here gets buried.
Stage 3 — Lockup inspection
Done when the building is “locked up” — external doors fitted, windows installed, roof on, external cladding finished. The home is now weather-tight.
What we inspect:
- External cladding — installation, fixings, expansion joints, weather sealing
- Roof tiles or sheeting — laps, valleys, ridges, flashings
- Window and door installation — square, sealed, packed
- Brick veneer — articulation joints, weep holes, ant capping, lintels
- Sarking continuity behind cladding
- Sealing around all penetrations
- Site drainage roughed in
[Image: brick veneer with weep holes and articulation joint visible]
What builders commonly miss:
- Weep holes blocked or installed at the wrong height
- Articulation joints missing in long brick walls (Melbourne reactive soil = future cracking)
- Roof flashings short or poorly lapped
- Window installations without packers — frames stressed and binding
- Sarking torn behind wet areas
If the lockup inspection picks up a sealing defect, the fix is straightforward. The same defect found two years later as a leak through the wall cavity is a major rectification.
Stage 4 — Fixing inspection
Building right now?
Star catches stage defects while your builder still has to fix them. Slab, frame, lock-up, fixing, PCI.
Done after plasterboard is up and skirtings, architraves, doors, kitchens, and built-ins are installed — before paint and final fix-out. This is where the home starts to look like a finished product, but plenty is still hidden.
What we inspect:
- Plasterboard finish — joins, screw flashing, square corners
- Cornice fitting and joins
- Skirting and architrave fitting
- Door installation — operation, gaps, locks
- Kitchen installation — benches, cabinets, splashback
- Wet-area waterproofing before tiling (where access permits)
- Tiling preparation
- Built-in robes and storage
[Image: plasterboard joints and cornice — fixing stage]
What builders commonly miss:
- Plasterboard joins not fully set, visible under raked light
- Doors hung with uneven gaps or binding
- Architrave mitres opening up
- Wet-area waterproofing completed without inspection — most common defect on the entire build
- Kitchen benches not sealed to walls
The wet-area waterproofing is the single most important hidden item at this stage. If it is done before the inspection and tiled over, you will not see a failure until the home is leaking.
Stage 5 — Practical Completion Inspection (PCI)
The final inspection before you sign for handover. Everything is finished. The builder is ready to give you the keys. This is your last chance to record defects under the contract.
What we inspect:
- Every room, every wall, every ceiling
- All doors and windows — operation, locks, seals
- All wet areas — tiling, grout, silicone, taps, drains
- Kitchen — appliances, taps, cabinets, splashback
- Floor finishes — timber, tile, carpet
- Paint finish — under raked light, all surfaces
- Exterior — render, paint, brickwork, eaves
- Roof — tiles, ridges, flashings, gutters, downpipes
- Garage and driveway
- Site — paths, fencing, landscaping if in scope
- Documentation — certificates, manuals, warranties
[Image: PCI defect tagging on architrave]
What builders commonly miss (or hope you miss):
- Paint defects only visible under raked light
- Tile lippage and grout colour variation
- Hairline plaster cracks at corners
- Door operation under load (slamming behaviour)
- Sealants and silicones — incomplete or ragged
- Drainage falls in showers and laundries
- Items still on the trades’ to-do list and quietly skipped
A good PCI inspection produces a defect list of 30 to 100 items on a typical Melbourne home. Anything under 20 items, and the inspection was not thorough enough.
For a structured walk-through of PCI, see our PCI checklist.
Booking stages with your builder
Stage inspections need to be booked before the next progress payment is authorised. The standard sequence:
- Builder completes the stage and notifies you
- You book the independent inspection within 2–3 business days
- Inspection happens with your builder’s supervisor or trades on site
- Defect list is issued same day
- Builder rectifies before you authorise the progress payment
If your contract does not allow time for an independent inspection between stage completion and payment, that is a contract problem worth raising before you sign — not after.
Frequently asked questions
How much do stage inspections cost?
A full set of five stage inspections on a typical Melbourne home is generally $1,500 to $2,500 total. Per stage, expect $300 to $600. Cheap relative to the build cost — typically less than 0.5% of the contract value.
Can I do my own stage inspections?
You can walk the site, but unless you have construction experience and know the National Construction Code, you will miss most of what matters. The frame inspection alone requires reading bracing plans against installed work. Independent inspectors do this every week.
My builder says independent inspectors are not allowed on site. Is that legal?
The site is the builder’s, but standard residential contracts include a buyer’s right to inspect at progress stages. If your builder refuses access, that is a flag — there is usually a reason they do not want a second pair of eyes. Talk to your contract administrator or solicitor.
What if my inspector finds defects?
You issue the defect list to the builder, and they rectify before the next stage progresses or before progress payment is released. Most defects we find are minor and fixed within a week. Serious defects (structural, waterproofing, tie-down) get escalated.
Do you inspect knockdown rebuilds and custom builds?
Yes. Stage inspections apply to any new build — volume builder, custom builder, or knockdown rebuild. The scope is the same.
Do I need all five stages, or can I just do PCI?
PCI alone is better than nothing, but most defects we find at PCI cannot be repaired without significant rework — they are buried behind plasterboard or tiles. The case for full-stage inspection is the case for catching defects when they are still cheap to fix.
Book your stage inspections
If you are building in Hoppers Crossing, Tarneit, Werribee, Point Cook, or anywhere across Melbourne’s west, book your stage inspector early. Star Building Inspections delivers same-day photo reports at every stage. Read more about our stage inspections service, or call Michael on 0412 014 216.
Related reading:
– Why your builder’s inspection is not enough
– PCI checklist: what to inspect before signing handover
Five inspection stages across a new home build
What customers say about Star
Why customers choose Star
Your builder's "inspector" is paid by the builder. Their job is to sign off, not to find defects. By the time you spot the issue at handover, contracts are signed and the build company has moved on.
Star is an independent VBA-registered builder hired by you, not by the builder. We attend at slab, frame, lock-up, fixing and PCI stages — finding defects while the builder still has to fix them under contract.
Chain inspectors vs Star
| Factor | Chain inspector | Star (independent) |
|---|---|---|
| Inspector continuity | Rotating staff | Michael every time |
| VBA-registered builder | ✗ | ✓ |
| Report walkthrough | ✗ | yes — phone call |
| Same-day report | ✗ | yes (by 6pm) |
| Cost | $300-450 | $450-650 |
Across Melbourne's west
When you book Star
Why book Star Building Inspections?
Star Building Inspections is owned and operated by Michael Tuder — a VBA-registered builder with 20+ years inspecting homes across Melbourne's western corridor. Michael personally attends every inspection, writes every report, and calls every customer to walk them through the findings line by line. No contractors. No rotating staff. No outsourced sign-offs.
Book your stage inspection
Slab, frame, lock-up, fixing or PCI — independent oversight catches defects while your builder still has to fix them under contract.